ADAS Blueprinting; Restore Trust, Safety, & Peace of Mind
What is ADAS Blueprinting?
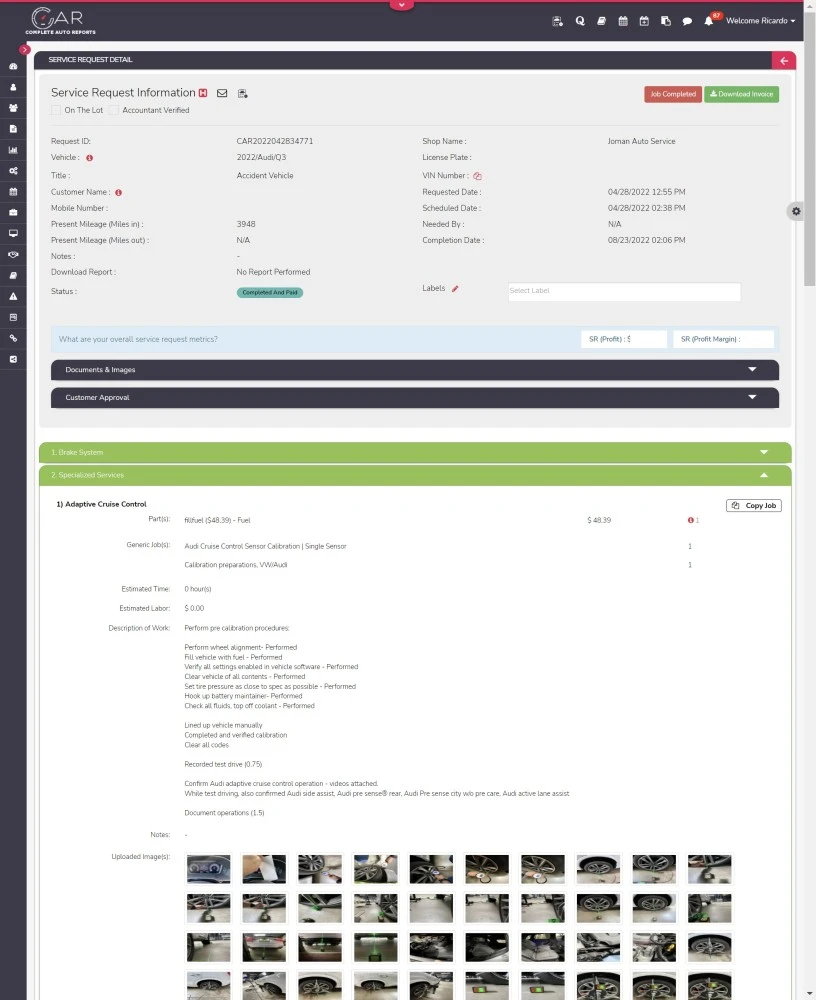
ADAS blueprinting is a comprehensive approach to managing the complex series of tasks required after a vehicle collision, especially when it involves ADAS calibrations. Since these systems vary significantly from one manufacturer to another, ensuring that every critical step is addressed can be challenging.
To streamline this process, we’ve developed the ADAS Master Checklist. This tool serves as a universal guide, outlining standard items to check for in any vehicle that requires post-collision ADAS calibrations and services. It helps technicians systematically verify each necessary component, ensuring nothing is overlooked.
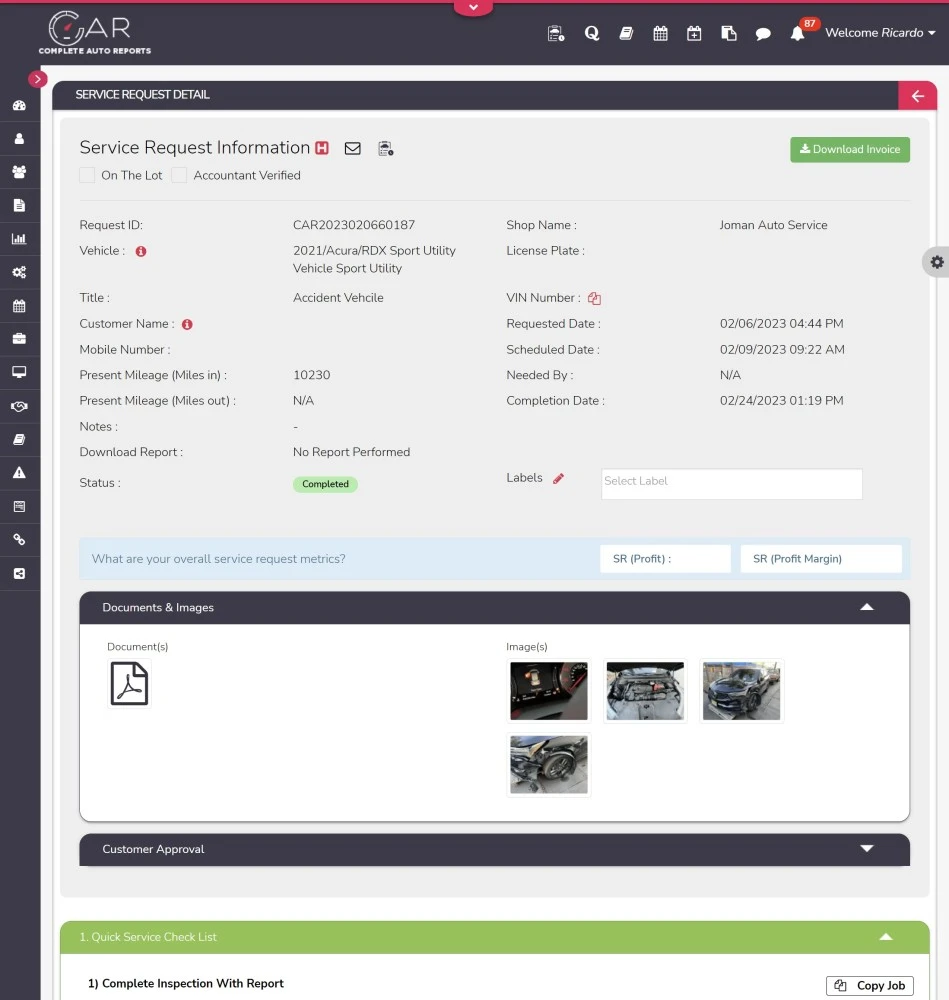
For efficient documentation and billing of all ADAS services performed, we recommend using CAR’s Shop Management Software. This integration not only simplifies the workflow but also ensures that all service details are accurately recorded and accounted for, enhancing both transparency and accountability.
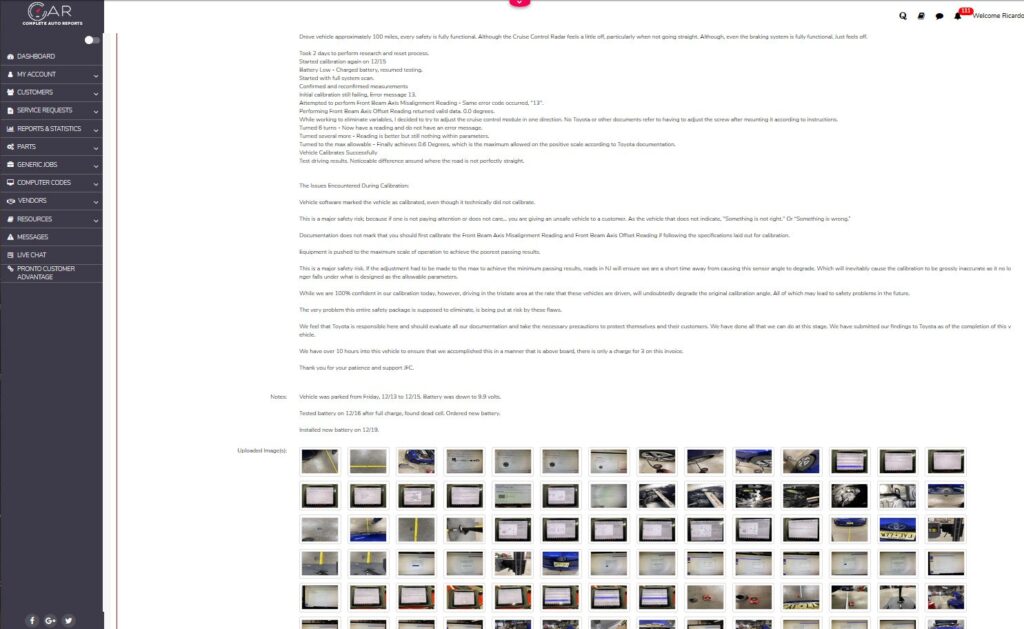
ADAS Master Calibration Checklist
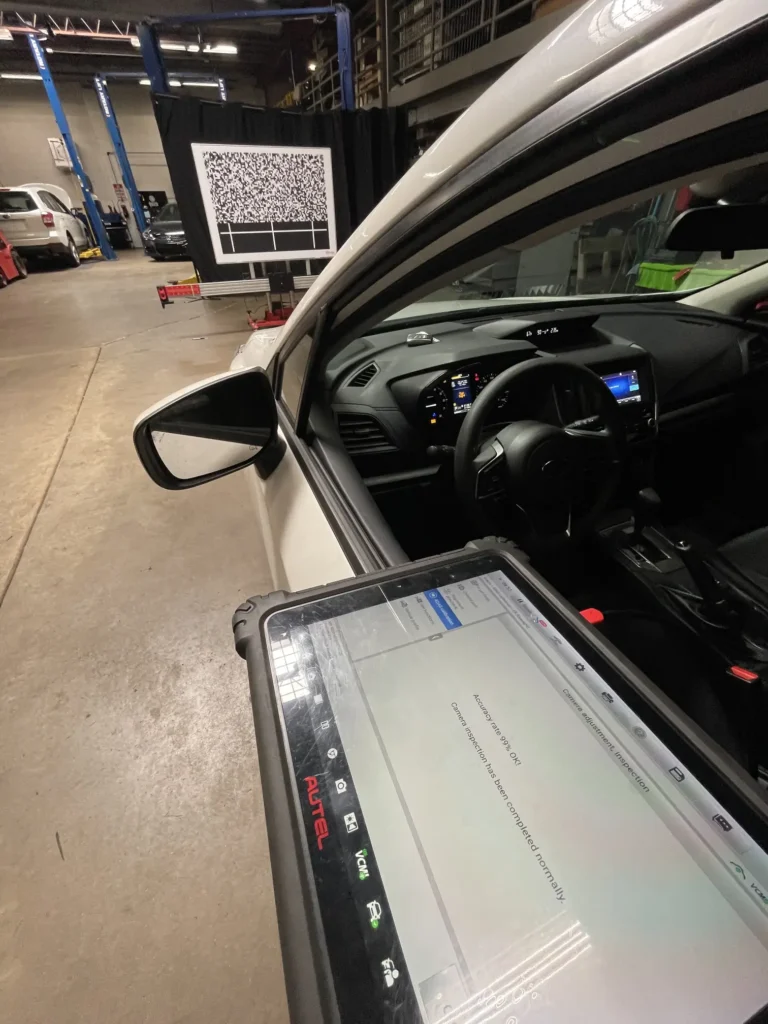
About my hardware experience:
- Purchased Autel ADAS Setup 2019
- Added IA800 to my Autel in 2021
- Sold my Autel setup in early 2022
- Test drove and purchased Texa’s BCC2 in mid 2022
- Own several OE calibration setups in addition to the Texa setup, that were purchased along this journey from 2018 till now.
Accomplishments through this experience:
- Can line up any vehicle for nearly any calibration in less than 15 minutes. Most can now be done in 10 minutes or less .
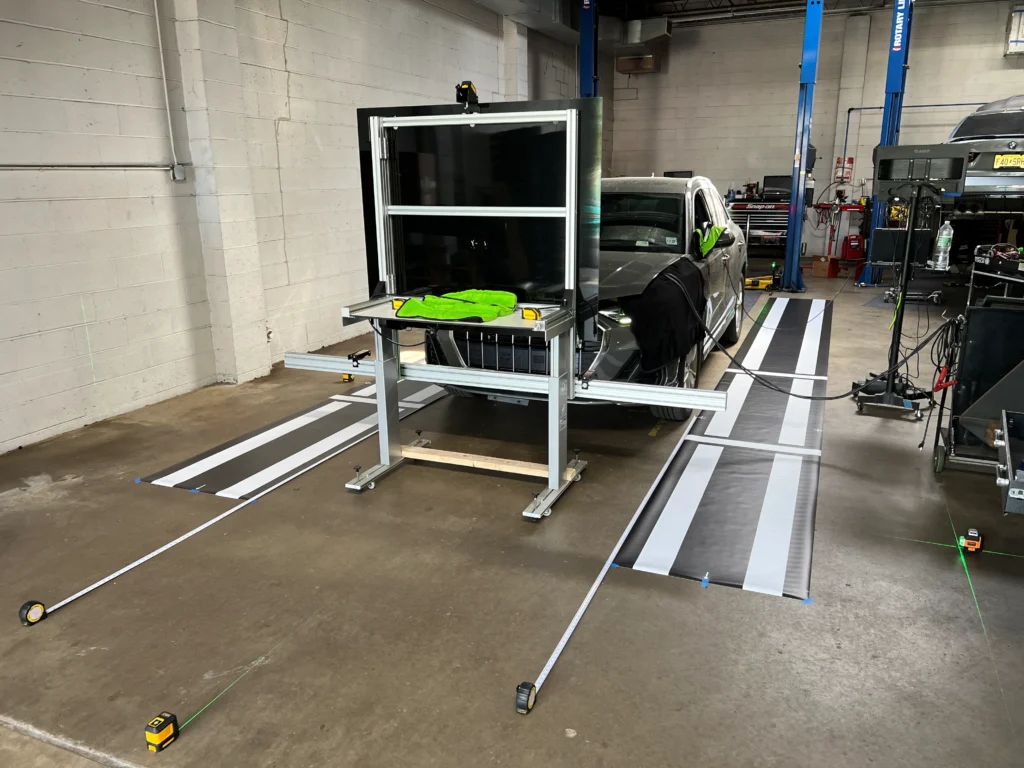
- Can complete most forward facing calibrations in 30-40 minutes. (Not including research or test drives. Actual calibration from pulling vehicle inside to pulling vehicle outside.)
- Can complete most multiple forward facing calibrations in less than 75 minutes time.
- Have not had to re-calibrate any vehicle in 2 years, since learning how to line up vehicles properly using a method devised here from experience.
The notes below are 4+ years of serious lessons performing ADAS.
11 Steps To Accurate ADAS Blueprinting
Step 0:
Get photos of accident damage.
Get list of parts replaced from body shop.
Sort of like interviewing the customer, but the customer is likely a body shop in need of repair post panels and paint.
Step 1:
- Pre scan – if any vehicle is newer than 3 years, I would not trust ANY AFTERMARKET SCAN TOOL. I’m not saying they don’t work, I’m saying I don’t trust them.
I scan throughout the process when changes are made and calibrations are completed, I save every scan.

Step 2:
- Get repair instructions for all parts and components listed
- Review all repair instructions to check for after body work services that NEED to be performed.
Will generally require you to subscribe to OE information to get the most accurate and up to date information. DO NOT rely solely on your scan tool for “instructions”. You will find information in many scan tools conflicting directly with OE data. This usually means that your hardware does NOT meet OE specifications and the manufacturer of the scan tool and your ADAS setup, is using math to fool the system requiring calibration.
The more OE information you read, the more this will become glaringly obvious to you.
Of the many steps you will see, “Fill vehicle with fuel” is among them.
Who am I to question an engineer who developed Advanced driver-assistance systems/features that state the first step in proper calibration is “Fill vehicle with fuel”?
Surely the car knows how to handle fuel differences, right? But if it’s a step in the procedure, you can assume it’s necessary as fuel will change the aim of a headlight, let alone a radar sensor or camera.
Step 3:
- Airbag testing (check for codes, clear all codes and ensure none come back) and checking of seat belts after a collision – Tug on each belt to confirm they work, record this process.
This is usually buried deep in OE documentation and is a fast way to pick up 0.5 hours for performing an easy service.
Step 4:
- Perform wheel alignment
You may be told that “its a light hit, it doesn’t need a wheel alignment”. I’ve had countless vehicles that “didn’t need a wheel alignment”, be out of spec. Many of them lead to knuckle replacement because aluminum knuckles deform easily.
If service information says it needs a wheel alignment, guess what it needs regardless of what anyone says?
I think many of you will find that in order to perform a proper wheel alignment, the vehicle needs to be filled with fuel as per OE specification.
I am not here to advocate for a full tank of fuel for a wheel alignment… just stating that it’s there.
Step 5:
- Reset Yaw rate, steering angle, VSC modules and/or other manufacturer sensors
Essential to any vehicle after a wheel alignment, let alone a collision.
A shortcut to find procedures typically needed but often overlooked. Check OE or other service information for battery replacement. When replacing the battery, typically the resets are listed there. Some aftermarket repair data may have short cuts to “programming/relearns”.
Step 6:
- Reset seat weight sensors
Very overlooked and standard on at least every Honda known to man that’s been in an accident.
Step 7:
- TEST DRIVE BEFORE CALIBRATION
Can not stress this enough. We have found several vehicles that needed a steering rack because we test drove before performing the calibration. In every single instance we were pressured to just “perform the calibration because it doesn’t have any other problems, we’re the problem.”
Declined every single one.
Step 8:
- Obvious calibrations – ACC, camera, 360 view/walk around camera(s) and/or BSI
There are more necessary calibrations than you can imagine sometimes. Guess where all the gold is hiding? OE service information.
Step 9:
- Headlight adjustments
The second most overlooked service I have seen, even on front end accidents! Most common vehicles can easily be aligned without serious equipment.
Step 10:
- Test drive
- Post scan
Example: If you calibrate the front radar sensor, each manufacturer will have a document that will explain to you the method of exact operation for this feature. The first few are very wonky as you try to find your rhythm. But as you keep doing this, it’s like a muscle.
You will learn the natural limitations of just about every system known to man and will be able to recognize when something isn’t right.
Step 11:
Document like your calibration is going to be on the front page of the NY Post.
